The Butcher, The Maker, The Electroshock Taker - Underworlds Wintermaw Review
Thank you to Games Workshop for sending us an advance copy of Warhammer Underworlds: Wintermaw for review!
In this blog, we give our standard review of the Brethren of the Bolt and the Skinnerkin warbands and the Rimewyrm's Bite and Hungering Parasite Rivals decks, telling you which cards you'll want to see early in your games of Warhammer Underworlds, plus offering advice on playstyle, boards, and Nemesis pairings.
See all the cards in the card gallery: https://www.battle-mallet.com/wintermaw-box-card-gallery
Unboxing Video
Wintermaw Season Box
Rules Updates
- Pg. 27 (do-overs) - The player who chose the first game board completes their do-over (thus revealing their discarded cards) before the player who chose the second game board. (This may not be new, but it is certainly worded more clearly.)
- Pg. 30 (player actions) - The standard player actions have names now!
- Venture: Draw 1 power card and add it to your hand.
- Strategise: Draw 1 objective card and add it to your hand, then discard 1 objective card from your hand (draw first, then discard, which gives you more agency).
- Pass: You forfeit your activation.
Brethren of the Bolt
A five fighter, zealot warband with one of the most interesting mechanics in the game. They all start inspired, they un-inspire when they make a successful attack action, and inspire if they support an attacker and are adjacent to the target. But they have a plot card as well.
 The Holy Vessels ability means that you can, in essence, channel your attacks through friendly fighters, reducing the distance between the attacker and the target by 1 for each friendly fighter between the two (using the shortest distance). If you do so, then any fighters used to reduce the distance become inspired! Lore-wise, imagine the attacker is channeling Sigmar's "divine lighting" through his friends, charging them up.
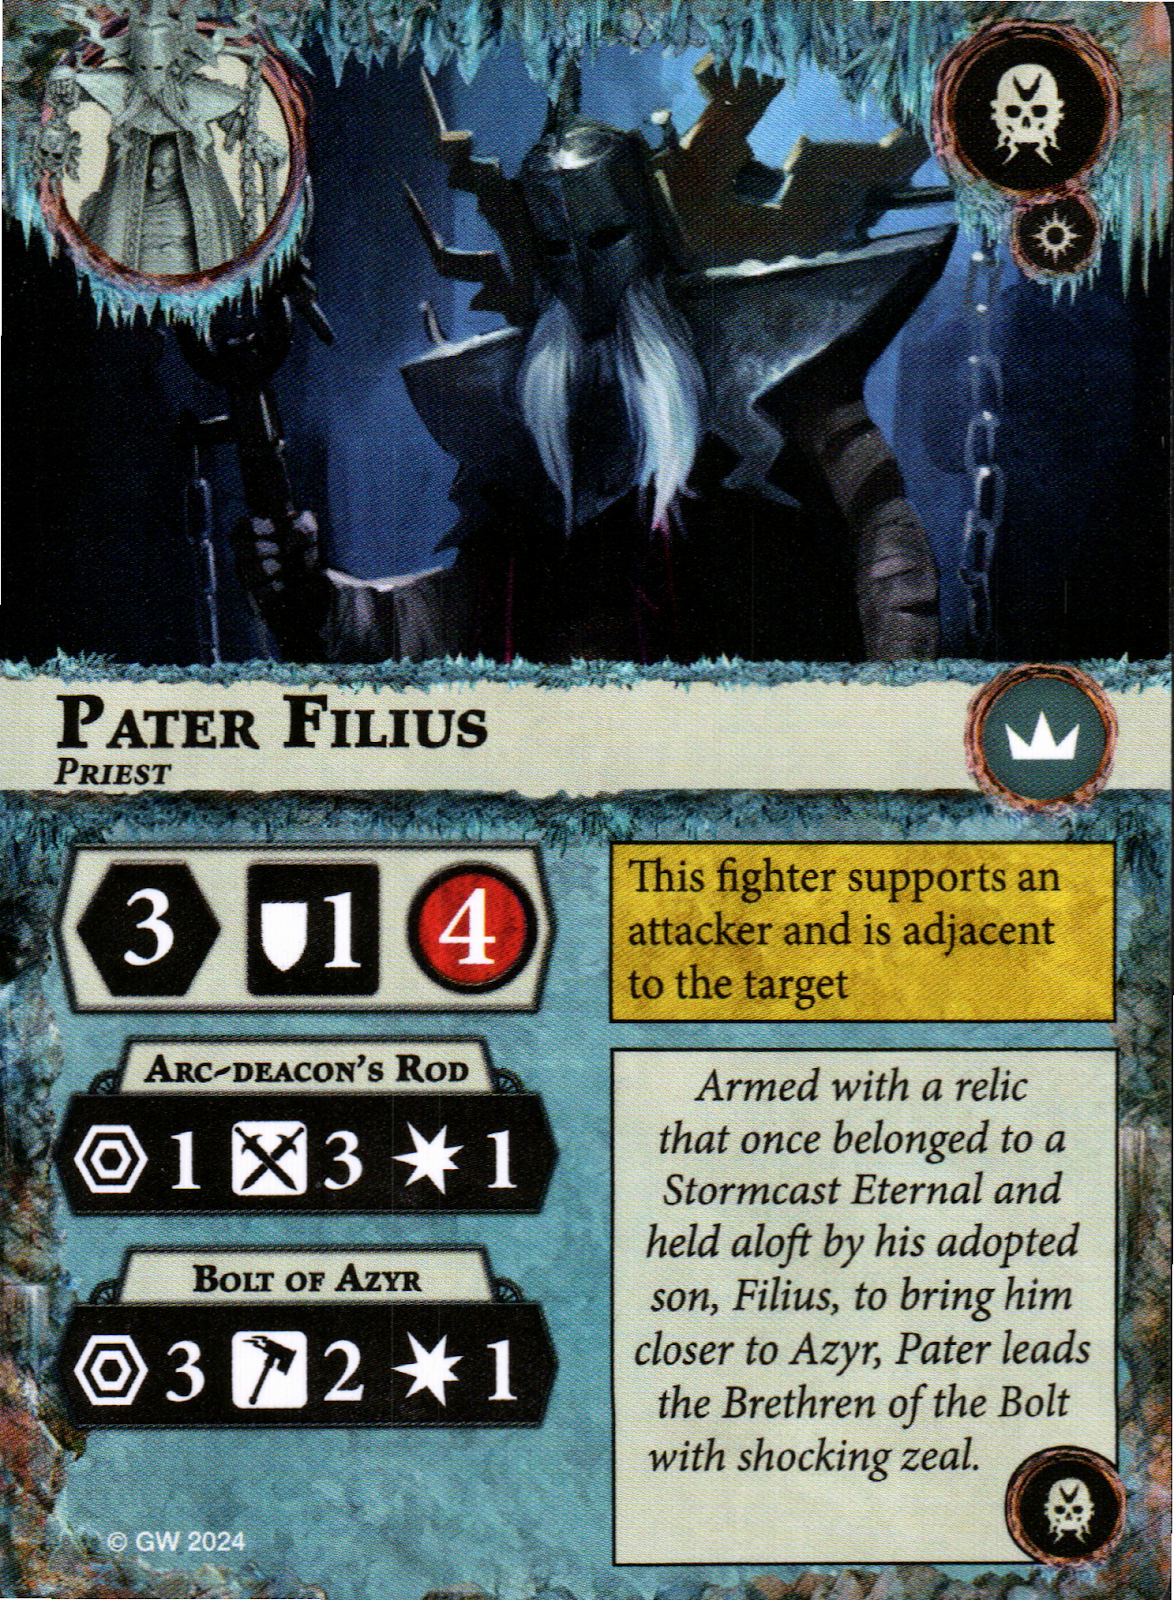
Pater Filius
This father-son combo acts as the warbands leader and has the Priest keyword. With a stout 4 wounds, and a range 1 and range 3 attack action, Pater Filius will likely be able to attack whoever he wants, thanks to Holy Vessels.

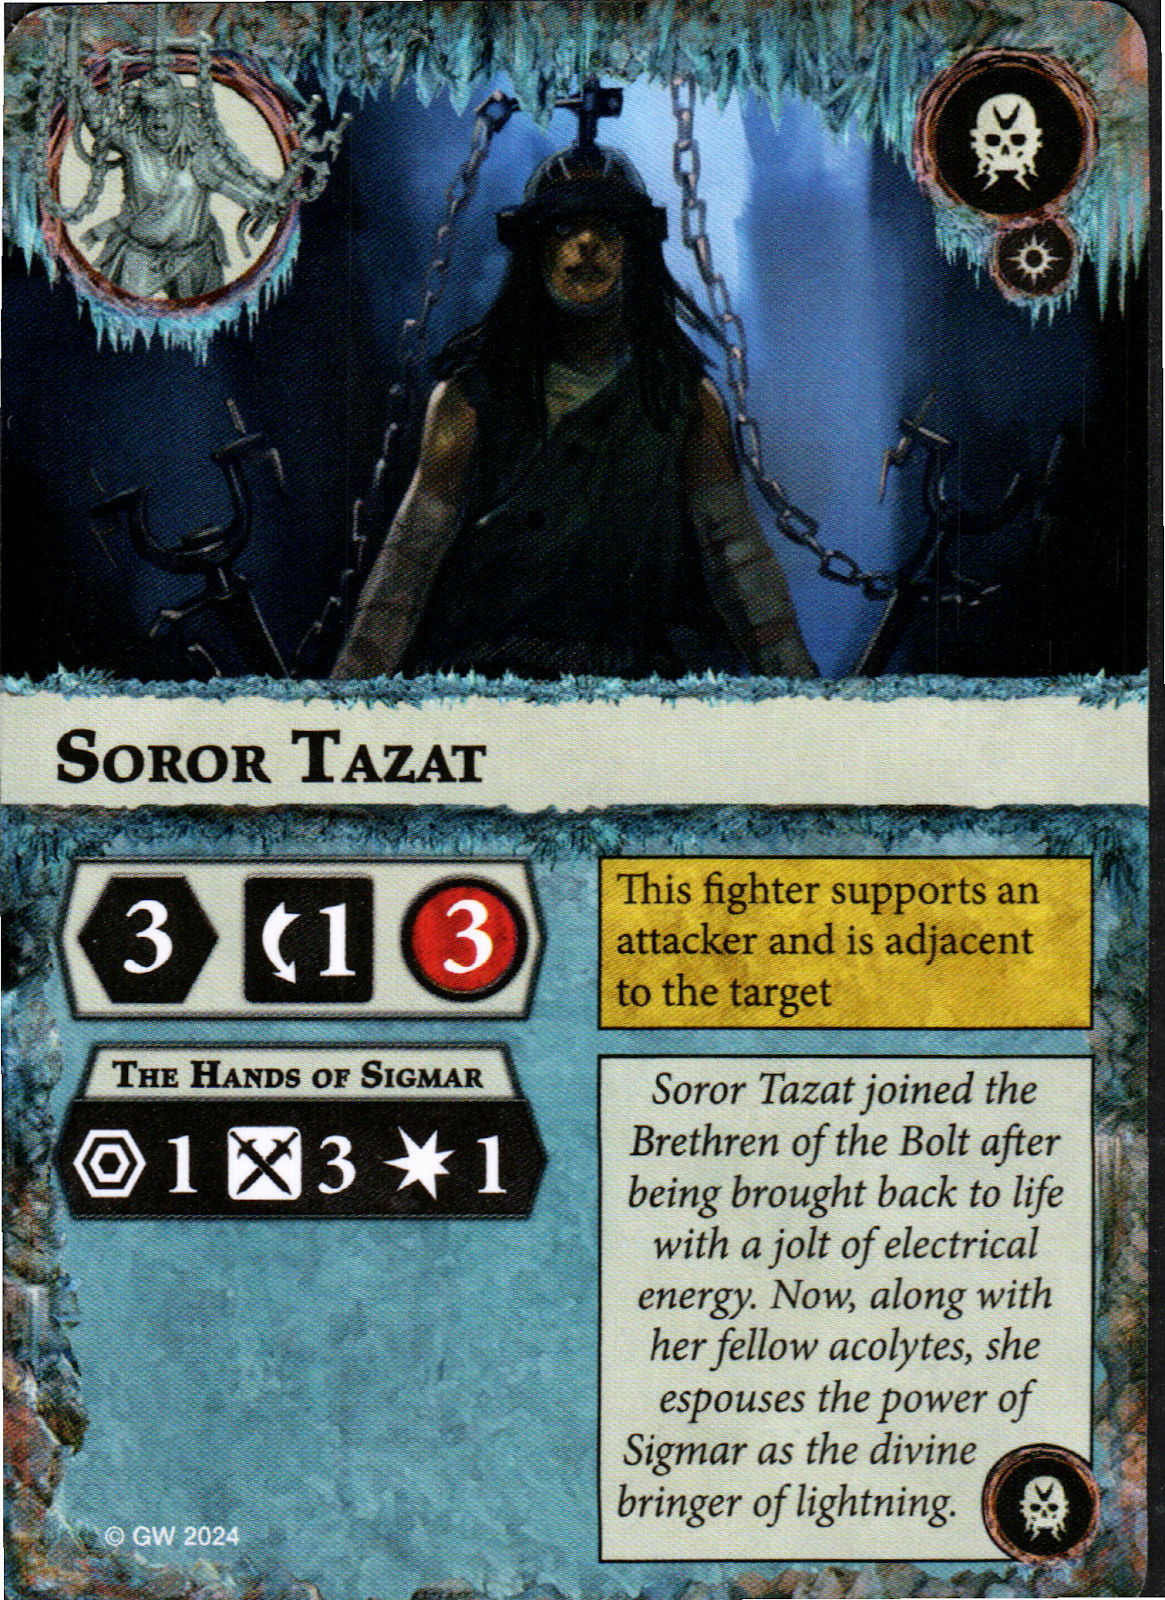
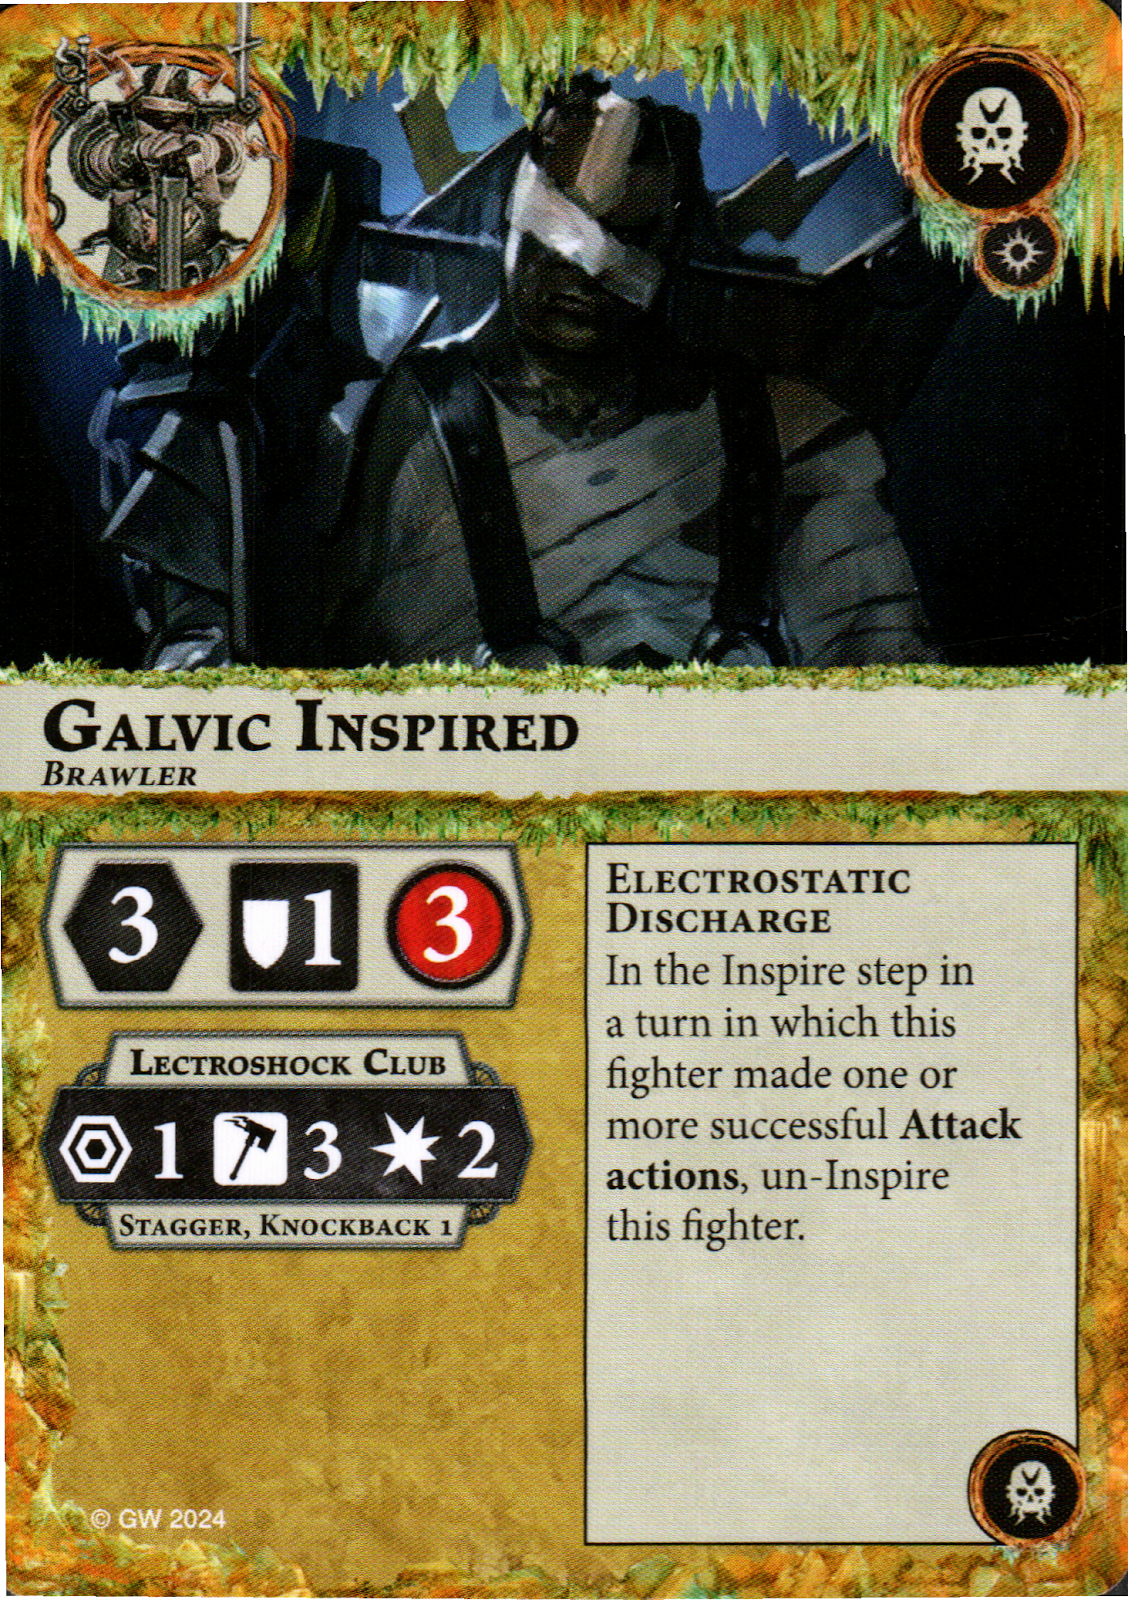
Friar Gavlic & Soror Tazat
Friar Galvic is Pater Filius's loyal bodyguard, while Soror Tazat is a former matron, returned to life by a ball of lightning. Both sport 3 Wounds and respectable Range 1 attack actions, with Tazat's zeal even granting her a Scything attack action when inspired.


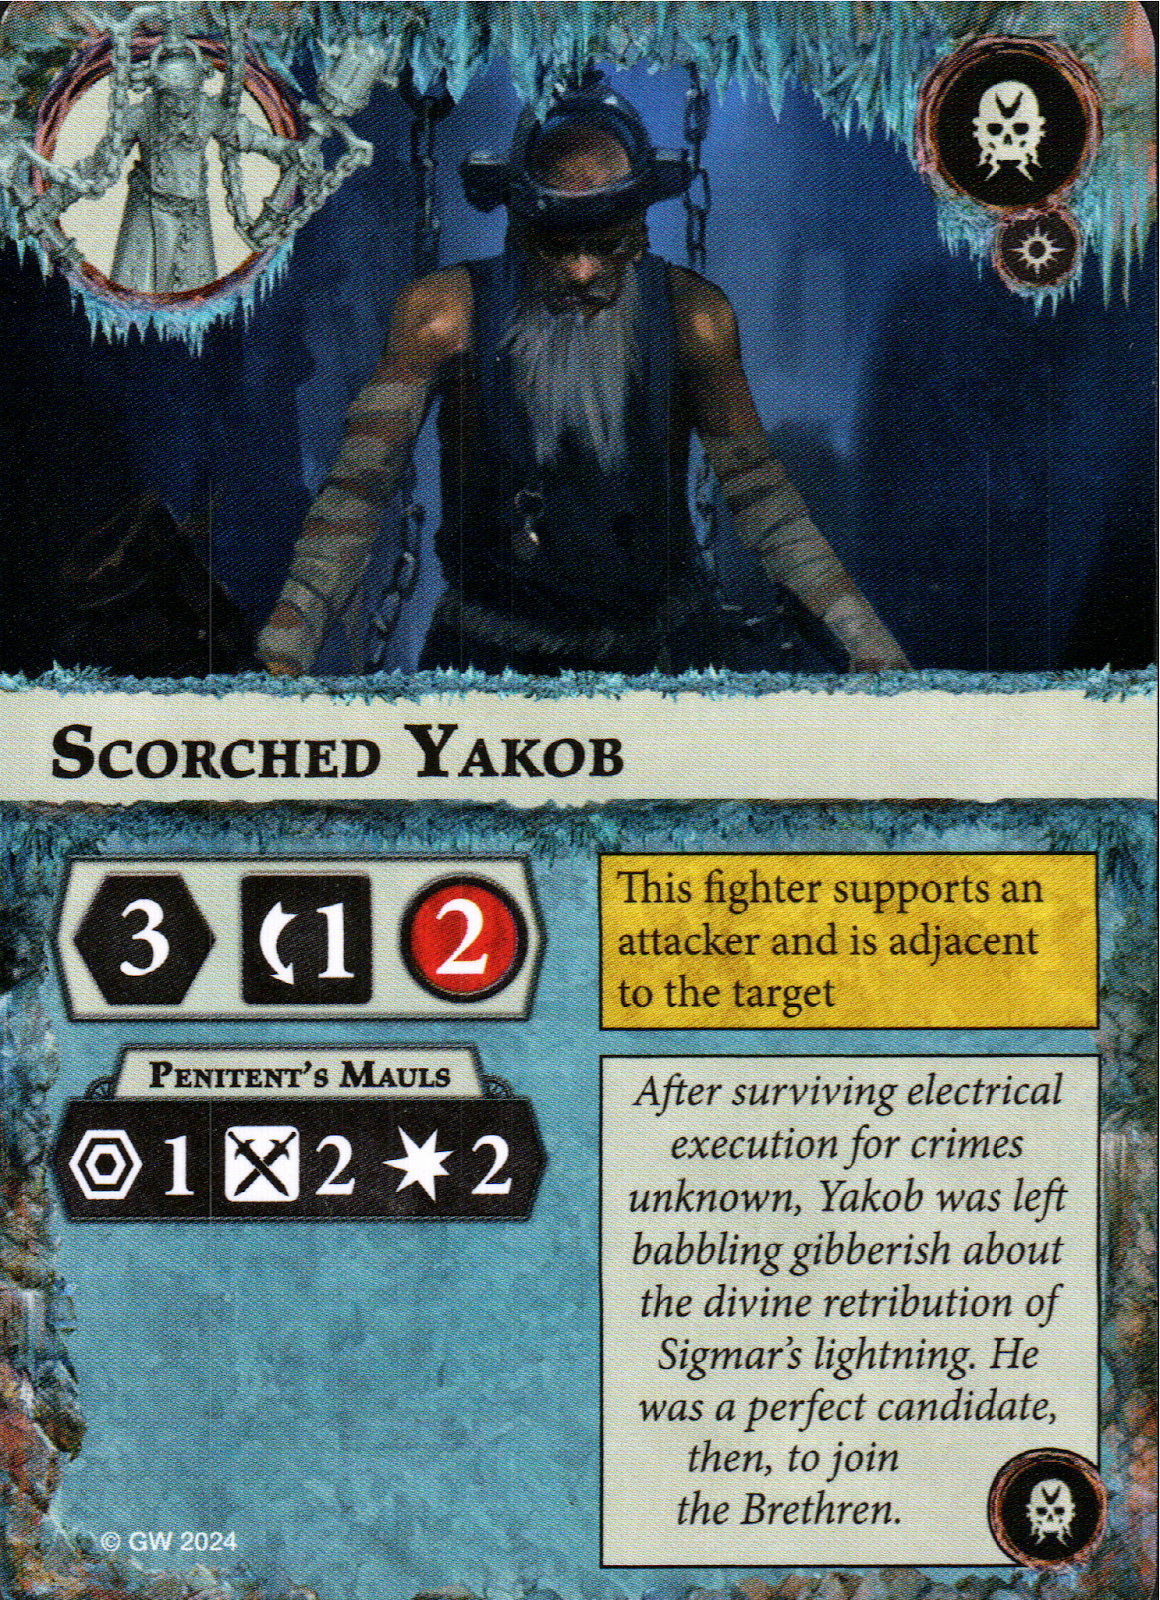
Acolyte Arcus and Scorched Yakob
These 2 Wound fighters have decent attacks on their inspired sides, meaning they can do work early and then (if they're still alive) be used as Holy Vessels!


Key Objectives


- Living Dynamo - Since the Charge and Barge superactions give you two of the 3 required actions, this is as easy as going on Guard and then Charging or Barging!
- Martyred Bloodworks - The hope here is that you've landed at least 2 successful attacks (or drawn Gambits that let you un-inspire).
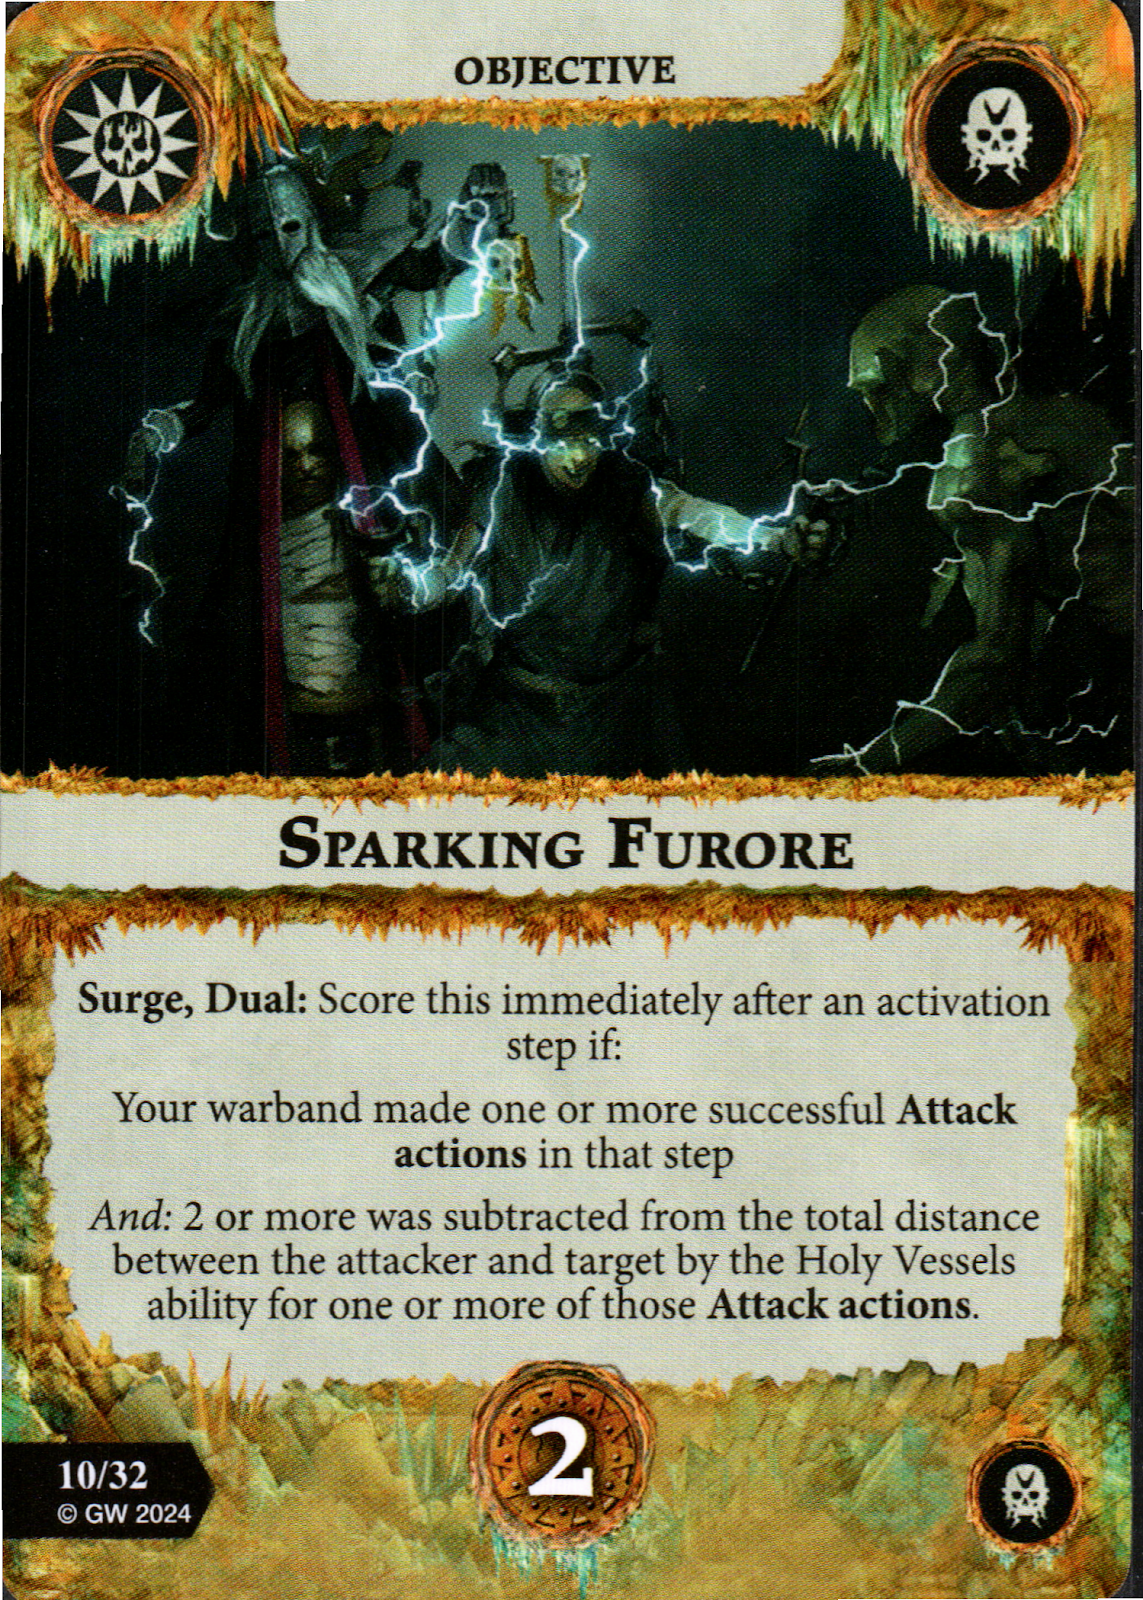
- Sparking Furore - Okay, normally 2-glory surges aren't top picks, but with Pater Filius's range 3 attack, there's a good chance you can score this in your first or second activation!
Key Gambits


- Final Spark - A free ping after a successful attack action? Yes, please.
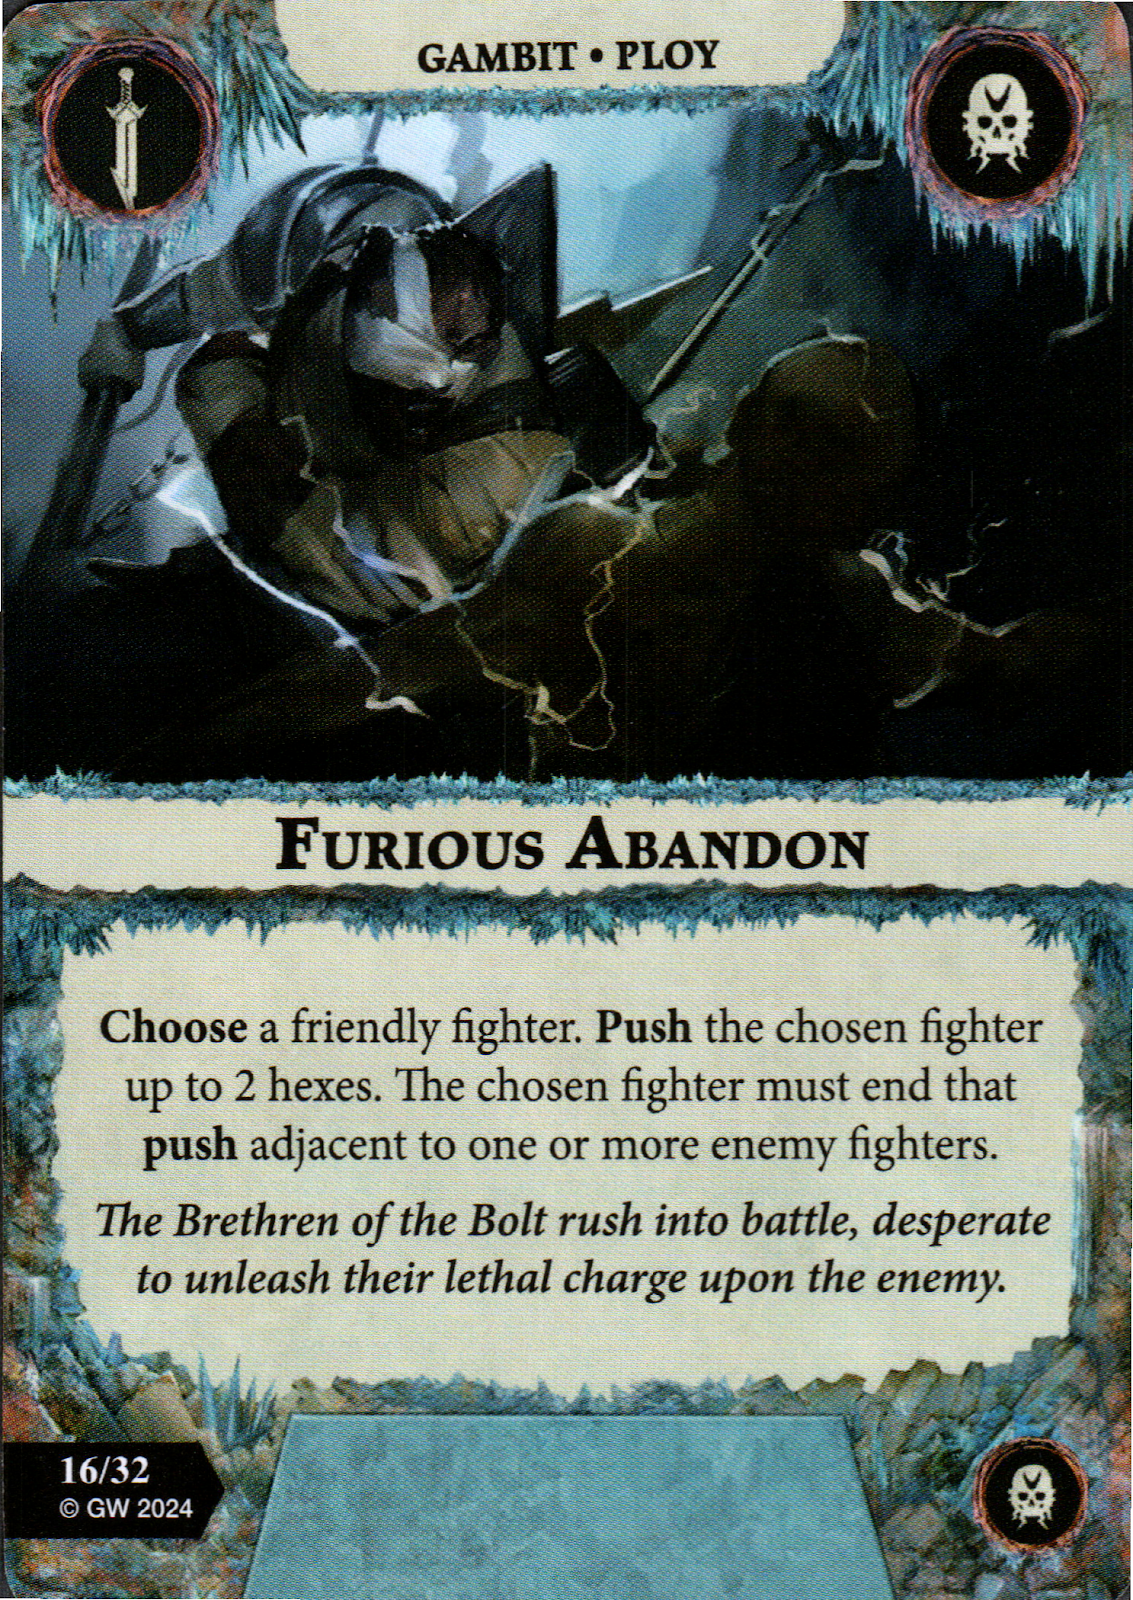
- Furious Abandon - You all know we love a push, but one that sets up Holy Vessels and/or supports.
- Unleashing His Fury - Another ping! With a slight range restriction, though. Still gives you the opportunity to take out a 4-wound fighter with a 2-damage attack (with Final Spark).
Key Upgrades


- Burgeoning Saint - While there are a ton of Gambits and Upgrades that revolve around Inspiring and un-Inspiring, having a forever Inspired Pater Filius is just oo tempting.
- Holy Spasms - With the amount of opportunities for Inspiring and un-Inspiring, this could mean a lot of free pushes.
- Powerhouse - Who wouldn't want to reduce distances even more?!
Playstyle
Positional Aggro. They thrive off of attacking, but need to be in the right place at the right time (even needing to hold Objectives).
Boards
Mid-forward starting hexes with one or two right up from to setup Holy Vessels. Glacial Tomb, Frost-wracked Ruins, and The Stricken Swamp are all good examples.
Playing Against Them
Kill them (carefully). Make sure you're taking out isolated targets and removing their fighters.
Nemesis Pairings
Voidcursed Thralls for all of the extra movement. Tooth & Claw for the aggro support.
New Player Rating
Gold (minus). Because the warband starts inspired and they all have good attack profiles, they should be easy for a new player to pick up. That said, we think the ceiling on them is pretty high, but will require player skill to manage the inspire/un-inspire and the 2 2-Wound fighters.
The Skinnerkin
These five fighters represent the best chefs, sous chefs, and support that the Summerking could ask for. On a quest for the choicest cuts of meat from all of Ghur, they inspire when they've collected 3 Haunch counters (representing the freshest slices of meat cut from live quarry). Beyond inspiring, the Haunch counters can be used with Gambits for a variety of purposes.
Gristla Tenderhooke
As executive chef, Gristla gives you a good chance of acquiring Haunch counters. Thanks to the Fillet reaction, any successful Range 1 Attack action nets one counter. If you score a Critical success with the Lady's Cleaver, you'll gain an additional counter (Prime Cut). She has a respectable 4 wounds and decent defense on a Block. When she inspires, she has an even greater chance of triggering Prime Cut.


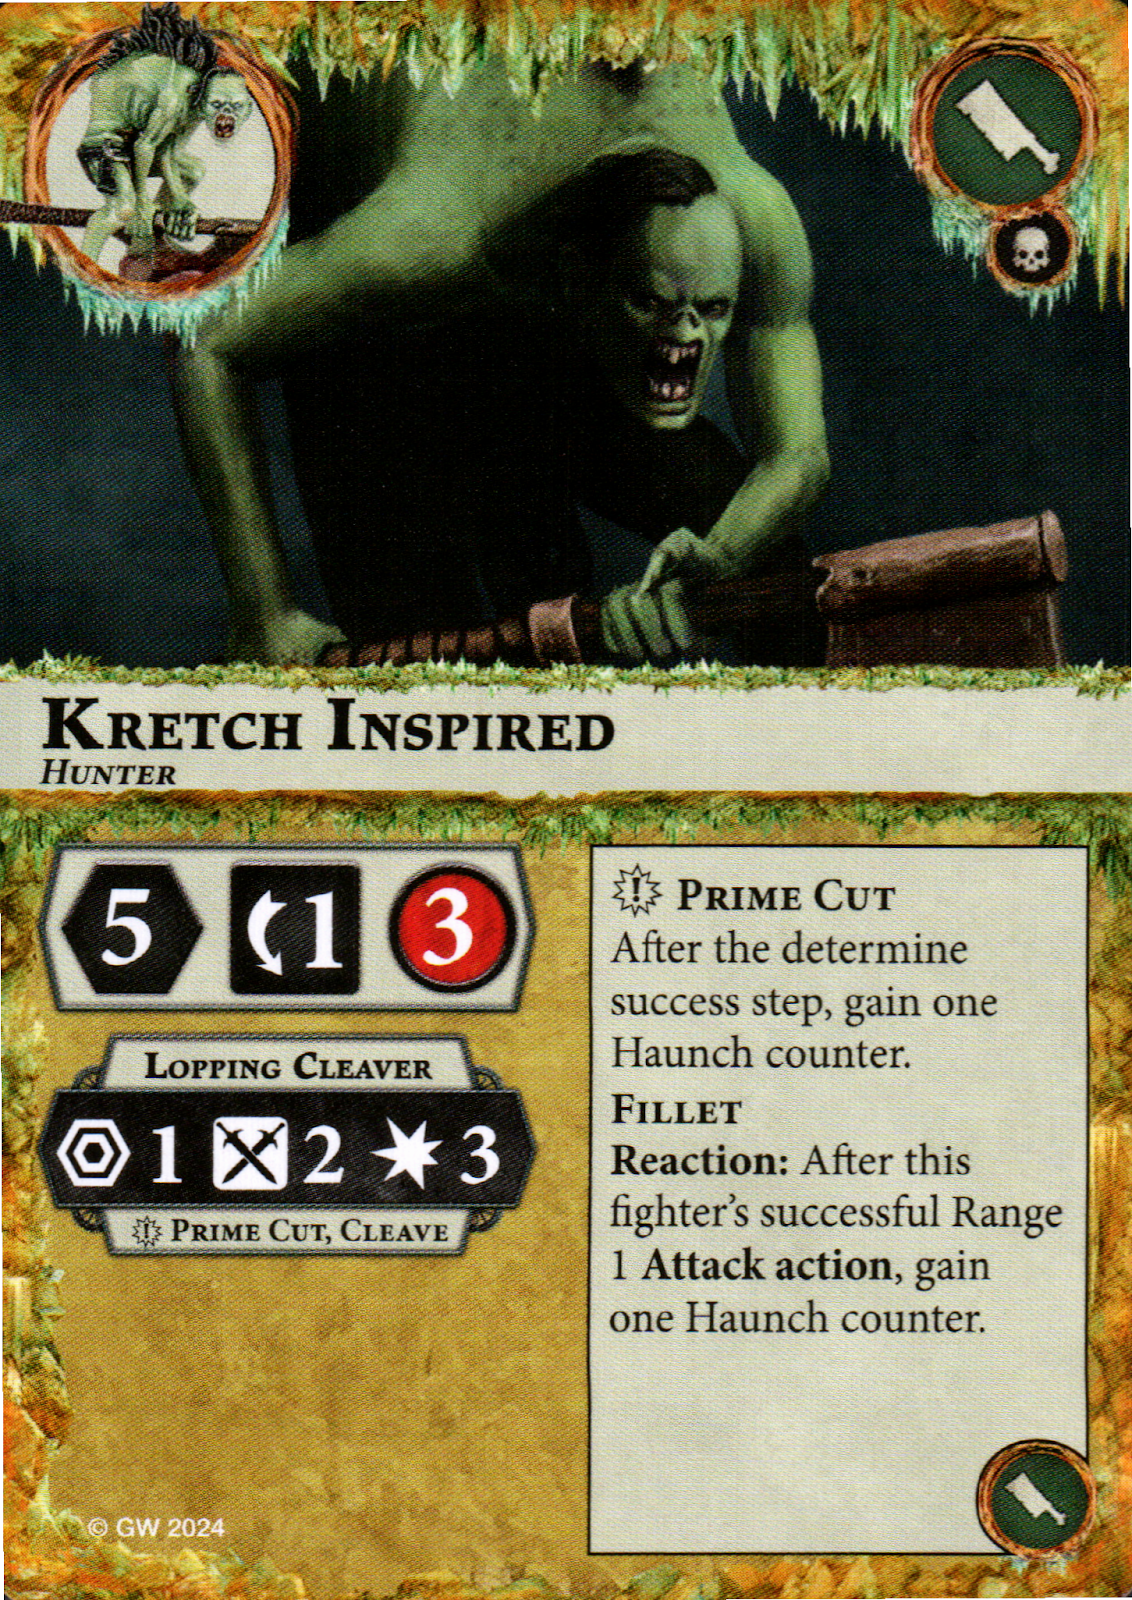
Young Master Kretch
Kretch is the chef de cuisine, able to find the best cuts, but not as adept at slicing them off. Like Gristla, he has the potential to score 2 Haunch counters with a successful Attack action, but on only 2 Dice, it's less likely than Gristla. When he inspires, he loses accuracy but goes to 3 damage with Cleave, retaining Prime Cut and Fillet.
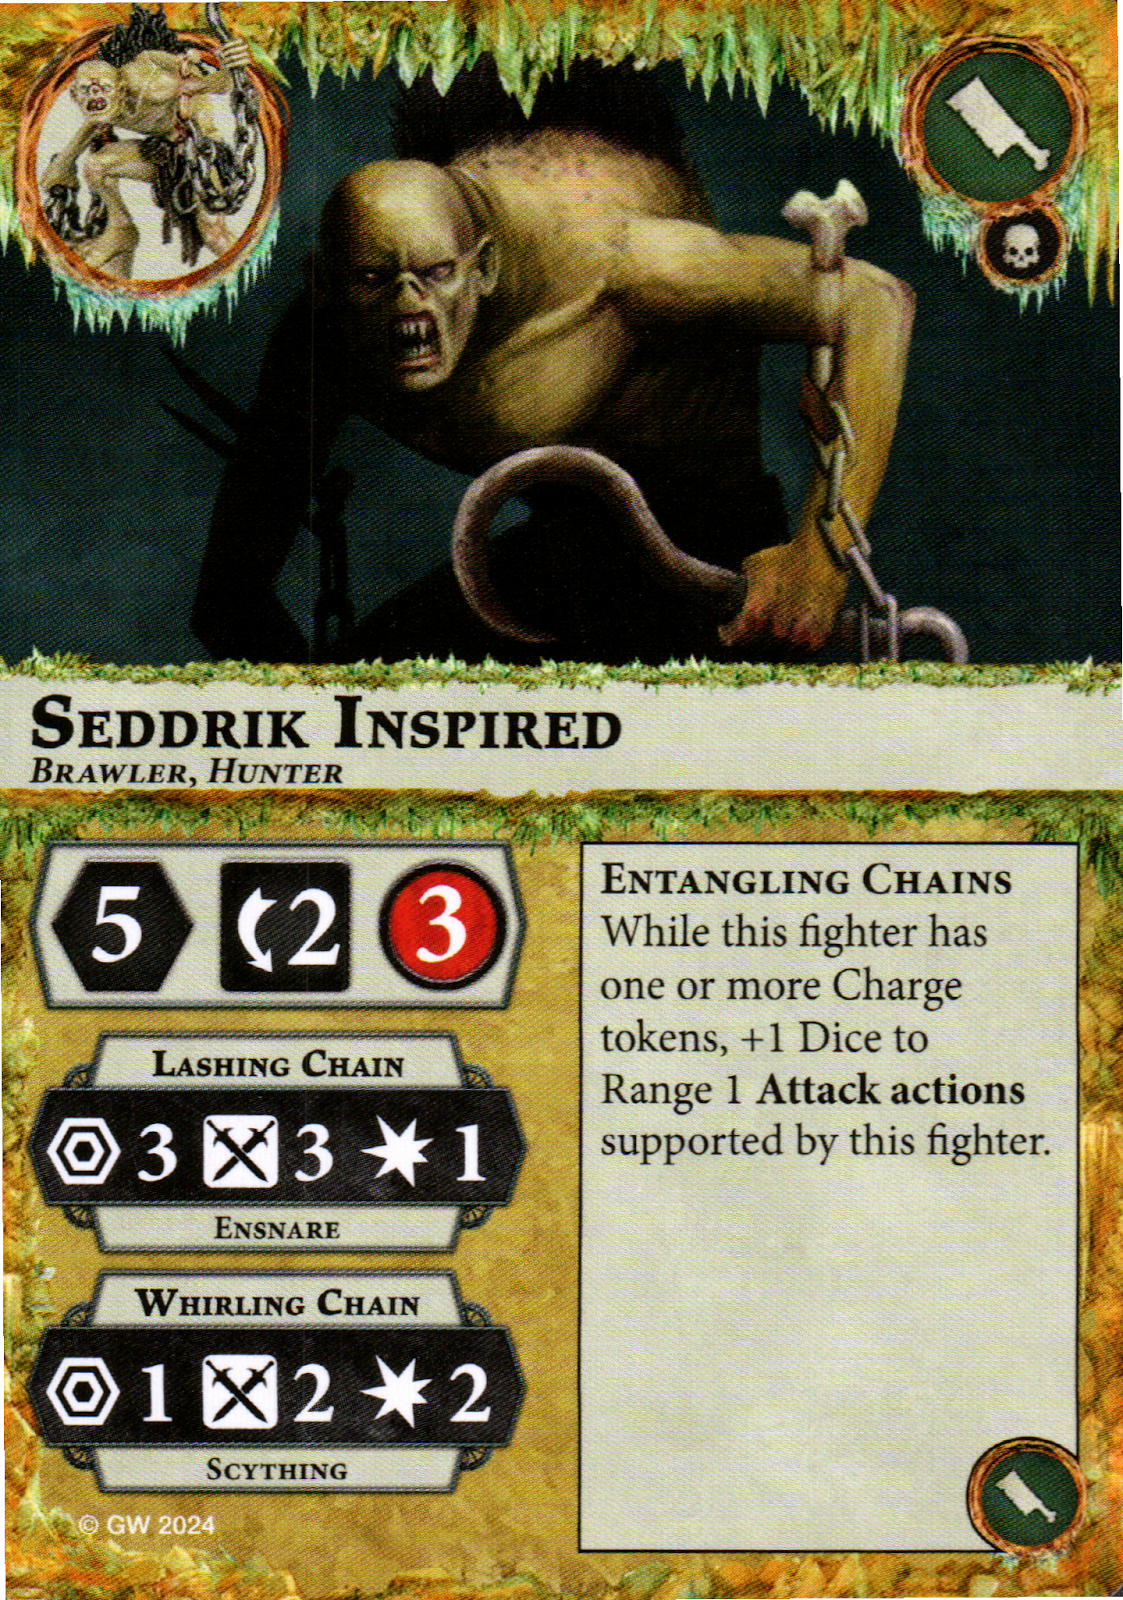
Flensemaster Pewdrig & Seddrik the Chain
Continue the brigade analogy, Pewdrig and Seddrik are the sous chefs for the Summerking. Not as adept at finding the best cuts, they can still assist in preparing the meat for the Summerking's feast.Pewdrig grants Haunch counters if an adjacent enemy fighter is taken out of action (whether he takes the fighter out or is supporting the attack). Seddrik doesn't gain Haunch counters on his own, but grants an additional die when he supports attacks. Both improve their attacks when inspired.


The Carnskyr
Okay, let's be honest; the brigade analogy falls apart here. But this is (in our opinion) the coolest model in the warband. A mini vargheist, the Carnskyr guards the choice cuts for Gristla, and can even tear them off itself as it Moves over enemy fighters, thanks to Grasping Claws.

Key Objectives
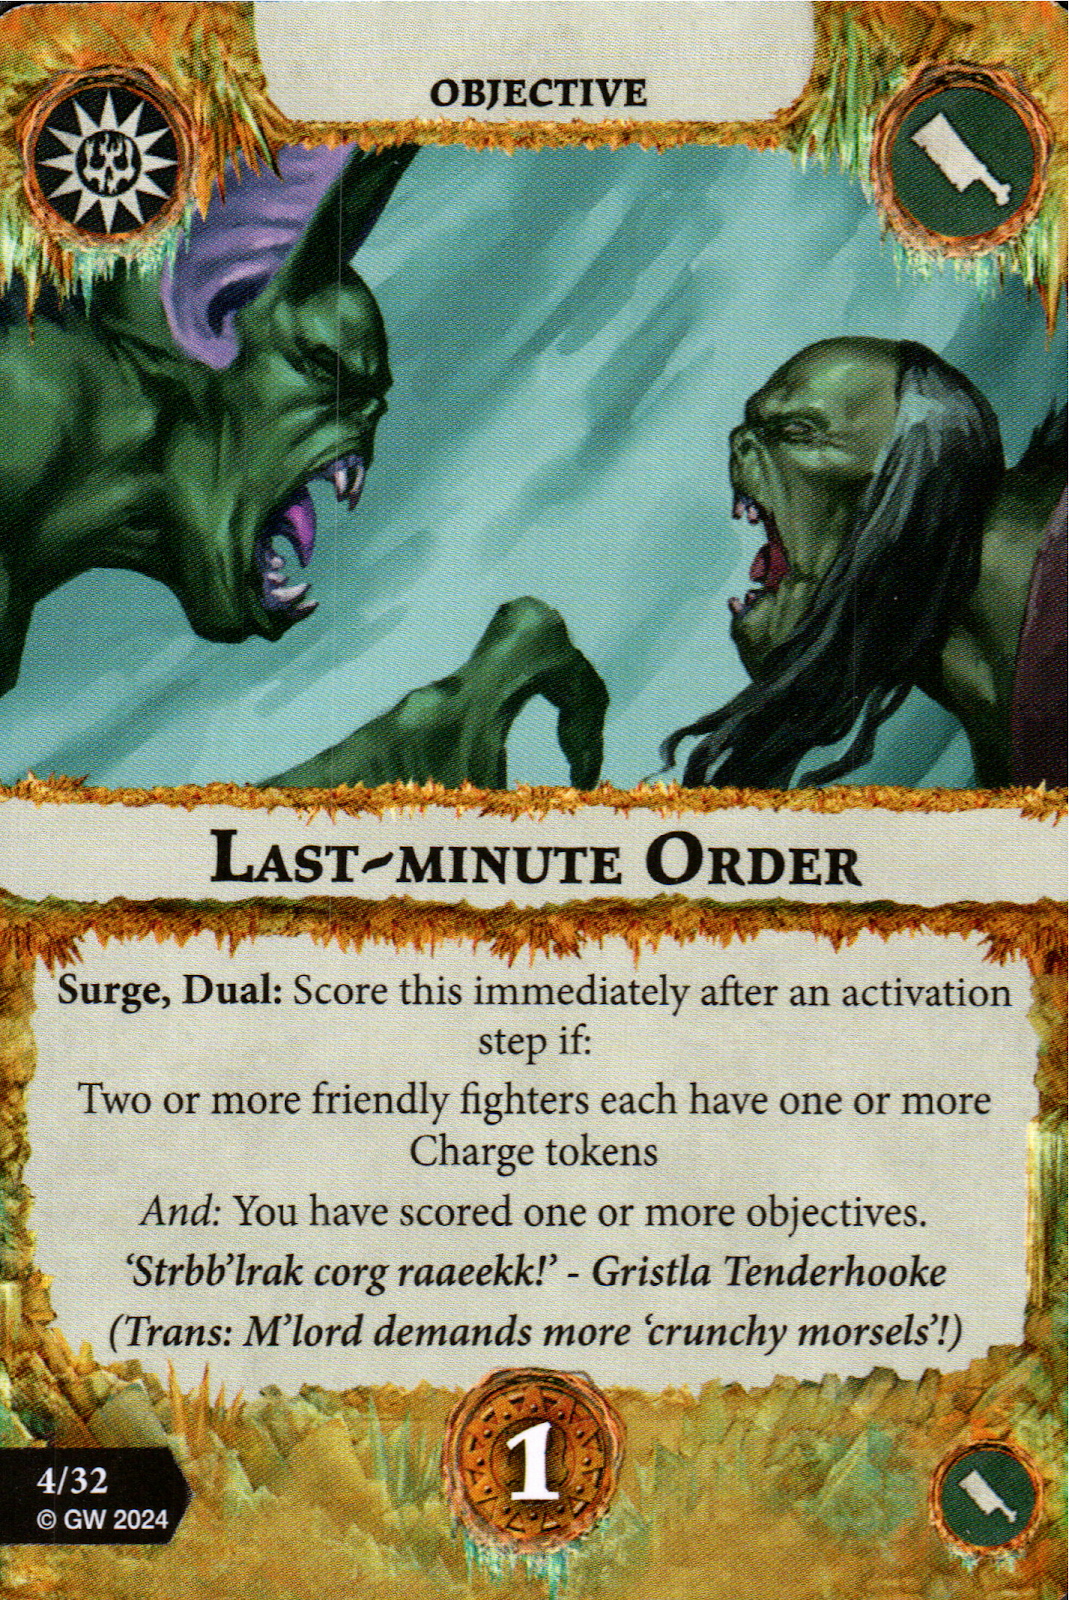


- Last-minute Order - While you'll need to scored other objectives to get this one, the two fighters with Charge tokens is a pretty easy task.
- Sing While You Work - Scorable with any of your fighters, though it will take until the 3rd activation to score. We like it early because while the fighters are tough, they aren't invincible.
- Tenderize the Meat - This one is a little tongue-in-cheek, based on an old Objective called Warning Shot (scored if you failed a range 3+ attack action). If you want the universe to give you critical hits, then you need a card that requires you to NOT get them in your hand.
Key Gambits


- Aspiring Artisan - Re-rolling one dice is awesome. Re-rolling all? Especially with 3 dice attacks?! Yes, please!
- Get Out of My Larder! - Free Move for the Pewdrig, Seddrik, or the Carnskyr. The extra supports and potential for more Haunch counters is awesome with Seddrik and Pewdrig. The Carnskyr getting to attempt Grasping Talons again is just icing on the cake.
- The King Hungers - +1 Dice is always welcome, but the opportunity to roll 2 extra dice cannot be ignored!
Key Upgrades


- Calloused Hands - -1 Damage, plus the option for additional Glory is too good to pass up.
- Midden-heap Scavenger - Counting Blocks as successes is worth an upgrade alone, much less an Action to just gain a Haunch counter!
- Practised Butcher - Any extra opportunity to gain Haunch counters is nice, so you want this upgrade out as early as possible.
Playstyle
Traditional Aggro. This warband won't be able to do any of the things it wants to do if it isn't attacking.
Boards
Mid-forward starting hexes. Glacial Tomb, Frost-wracked Ruins, and The Stricken Swamp are all good examples.
Playing Against Them
Take out the Carnskyr, Gristla, and Kretch to block the easiest sources of Haunch counters.
Nemesis Pairings
Voidcursed Thralls for all of the extra movement. Tooth & Claw for the aggro support.
New Player Rating
Gold. The play style is straightforward, and attacking (successfully) will accomplish most of the goals of the deck.
Rimewyrm's Bite
Key Objectives
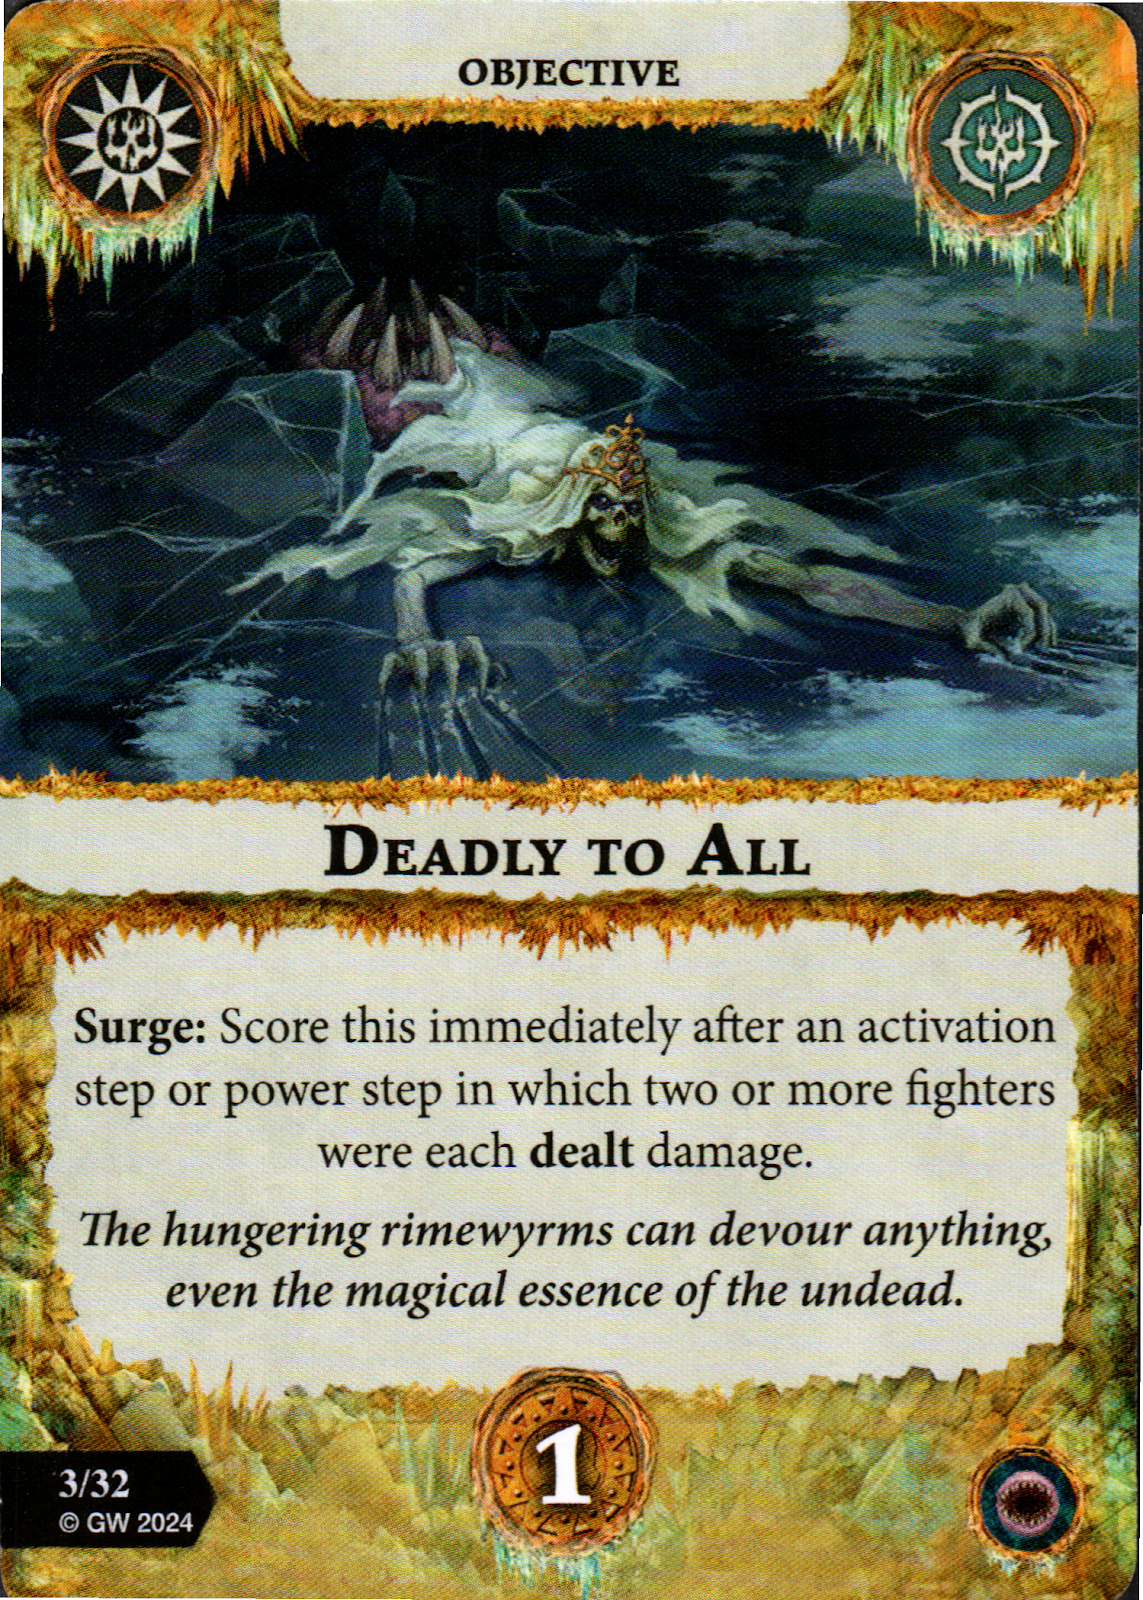


- Deadly to All - Since this isn't limited to enemy fighters, there are a lot of ways to score this. Charge your fighter through a lethal hex and then successfully attack. Play a Gambit that damages multiple fighters. Play two Gamibts that each damage a fighter.
- Gone Without a Trace - There are a lot of ways to deal damage to enemy fighters in this deck, so this slots in nicely. The extra glory scored for using a Domain is a nice bonus.
- Ruinous Aftermath - There are a decent number of Domains in this deck and each serve their purpose. Rotating through them (or better yet scoring this because your opponent play a Domain) should be pretty easy.
Key Gambits
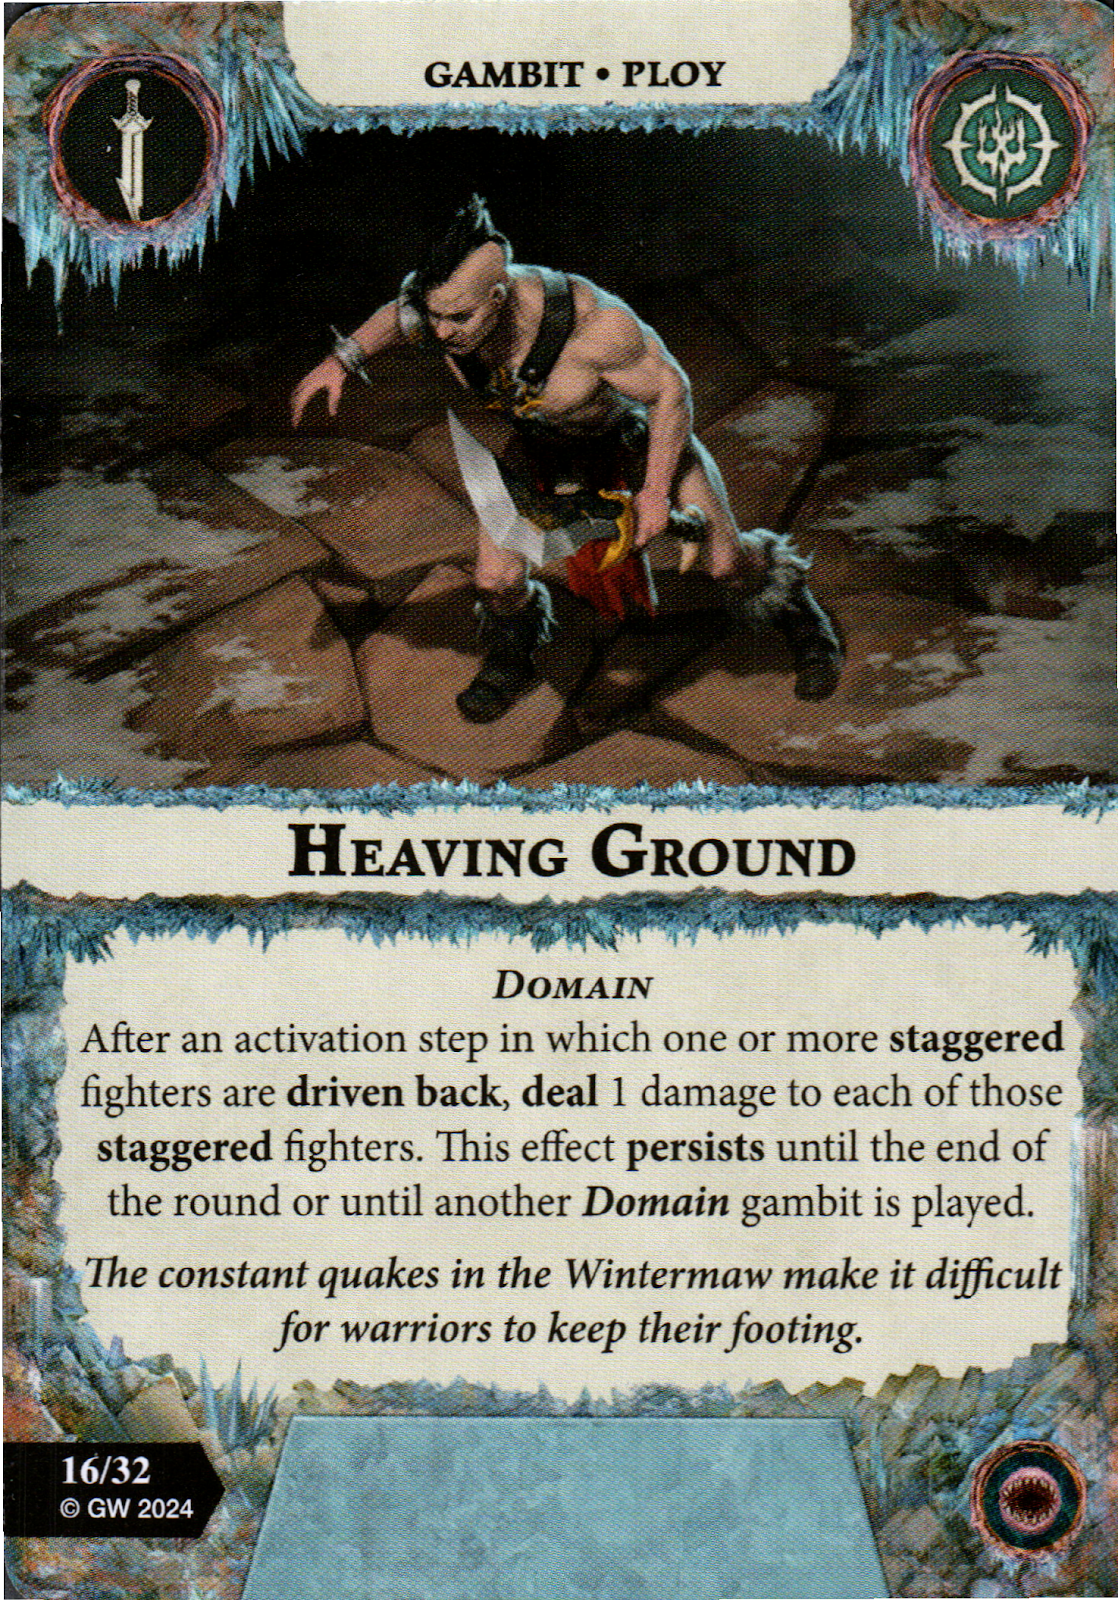

- Heaving Ground - Giving the available options for Staggering in many warbands, or adding Snare hexes in this deck, this is a great Domain, especially as it persists even after dealing damage.
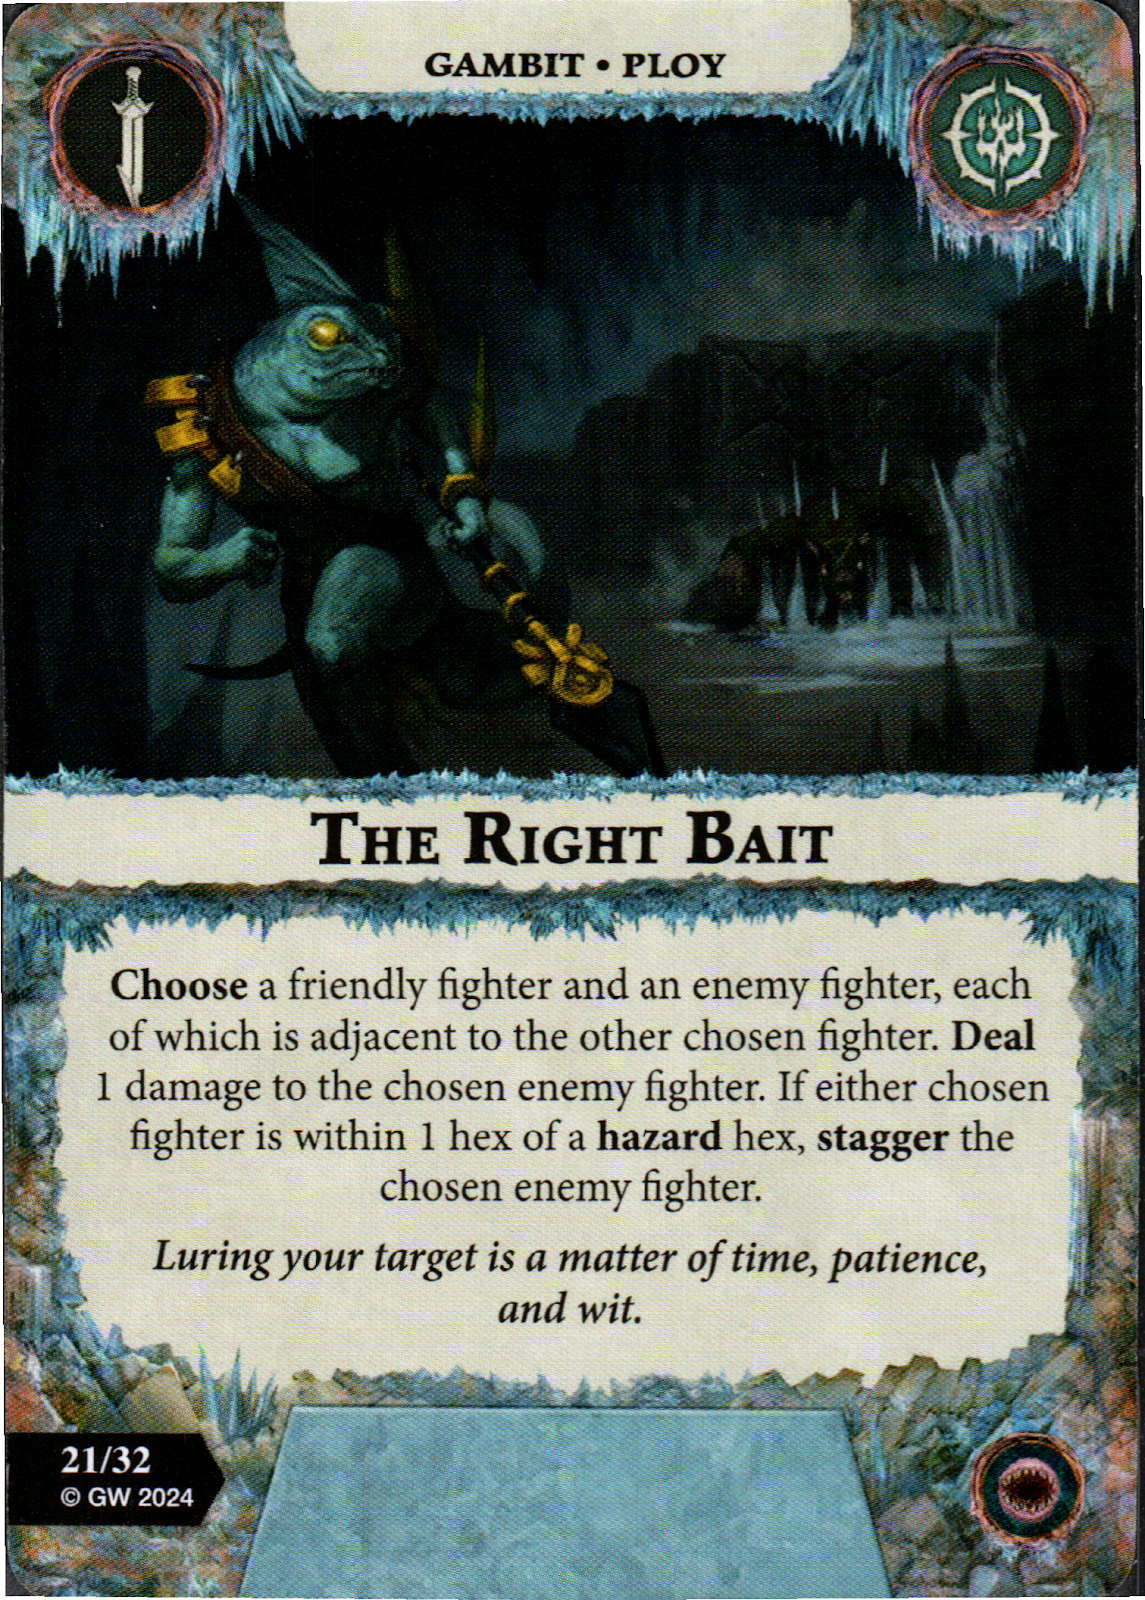
- The Right Bait - Lots to love about a free ping, plus the option to stagger!
- Unstable Footing - Another easy option for staggering that plays well into Heaving Ground.
Key Upgrades


- Boots of Warding - Immunity to damage from all power cards and lethal hexes is amazingly strong.
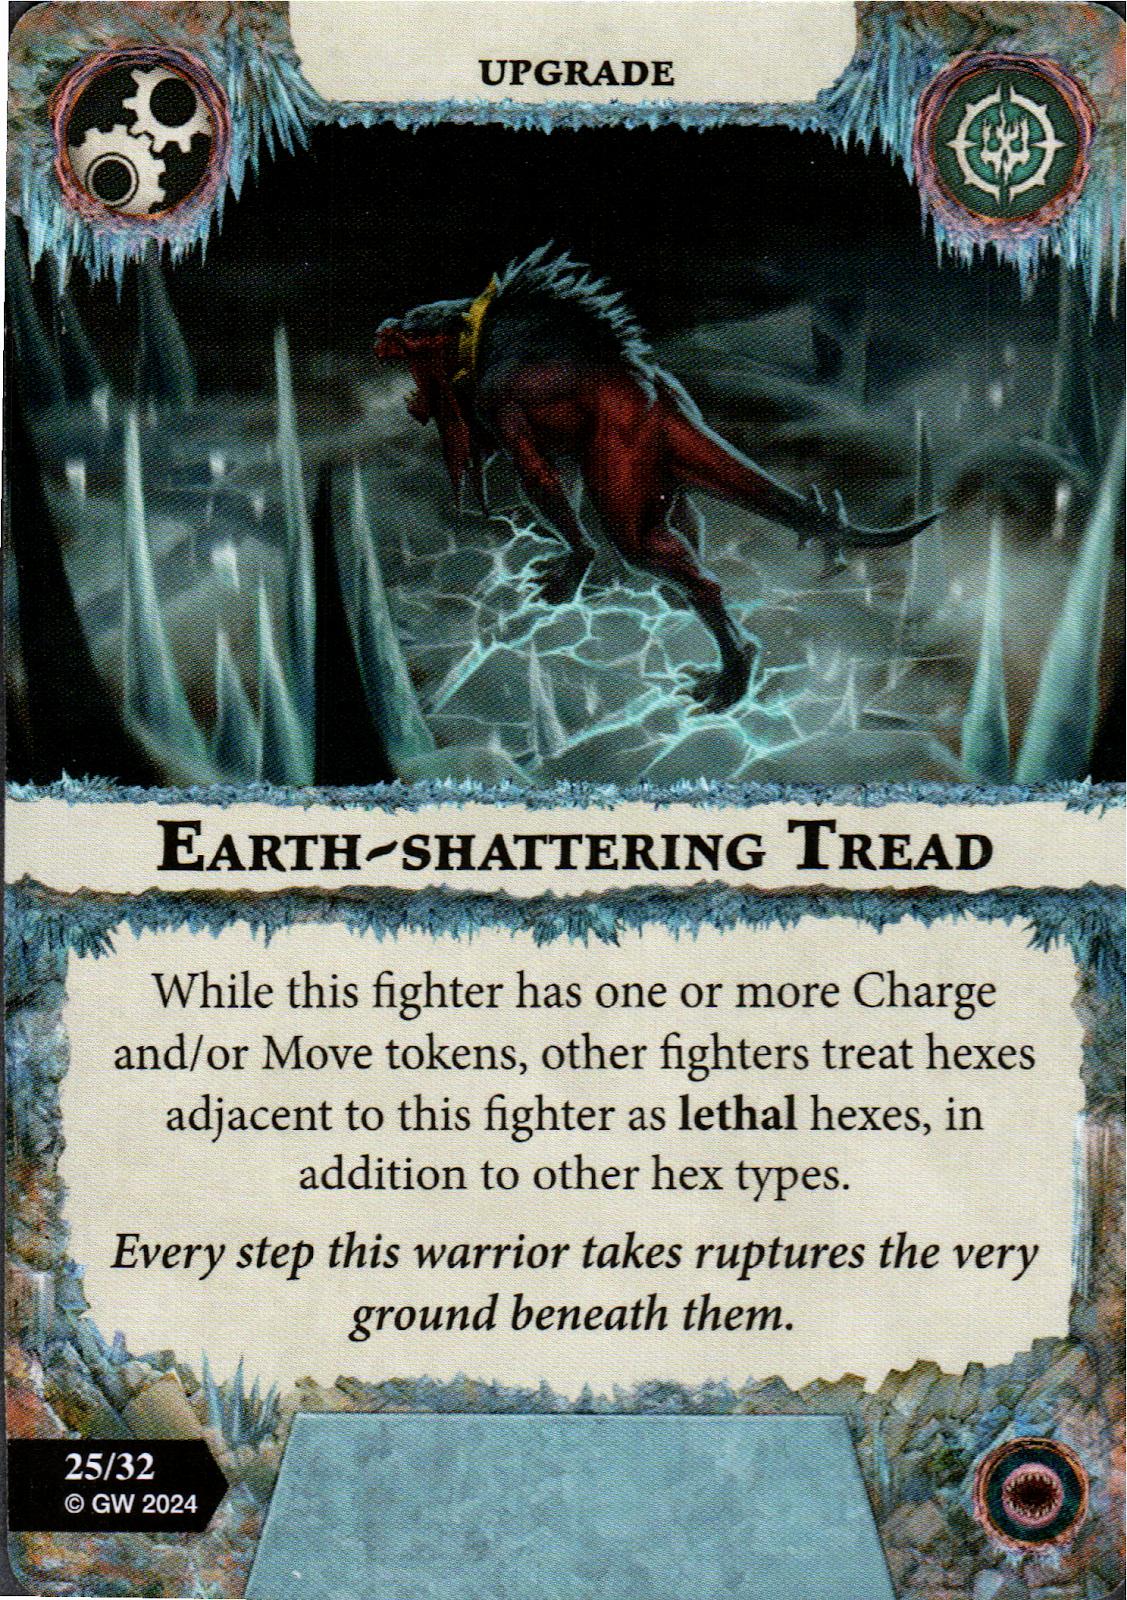
- Earth-shattering Tread - On-demand lethal hexes for this deck is very good.
- Tough Enough - Not as good as the Boots of Warding, but still strong. You definitely want this one early.
Playstyle
Invading aggro. Most of the objectives deal with taking fighters out of action or being in enemy territory.
Boards
Same boards as aggressive playstyle, but you likely want some hazard hexes.
Playing Against
For the most part, you just want to play your game. See if you can take advantage of the conditions the deck creates.
Nemesis Pairings
We like Spiteclaw's Swarm and Skittershank's Clawpack for their speed and the stagger.
New Player Rating
Bronze. The deck has a lot going on, and the Domains can be difficult to use.
The Hungering Parasite
This deck comes with a plot card and an upgrade card (The Bane of Heroes). In short, you give a fighter from your warband the parasite, which un-inspires them and staggers everyone within 1 hex (we think that includes whoever is wearing it). At the end of the round, you damage a fighter within 1 hex (so if you're by yourself, you damage yourself). If the bearer goes out of action, the upgrade breaks and is applied to a new fighter (yours or an enemy fighter adjacent to yours) during the next inspire step. We have to say, we're super intrigued by this deck. It feels like there's a lot of potential here, but it's not surface-level easy. More on that in the sections below.

Key Objectives


- Beyond Exhauseted - Easy to score. Move the initial bearer, or apply it to a fighter that has moved/charged.
- Deadly Influence - Based on the verbiage, we think that something would have to have occurred during the activation to stagger the bearer, but that's as easy as moving through a snare hex.
- Far and Wide - Again, easy to score, and the extra glory is possible, especially if you apply the Bane of Heroes to an enemy fighter.
Key Gambits
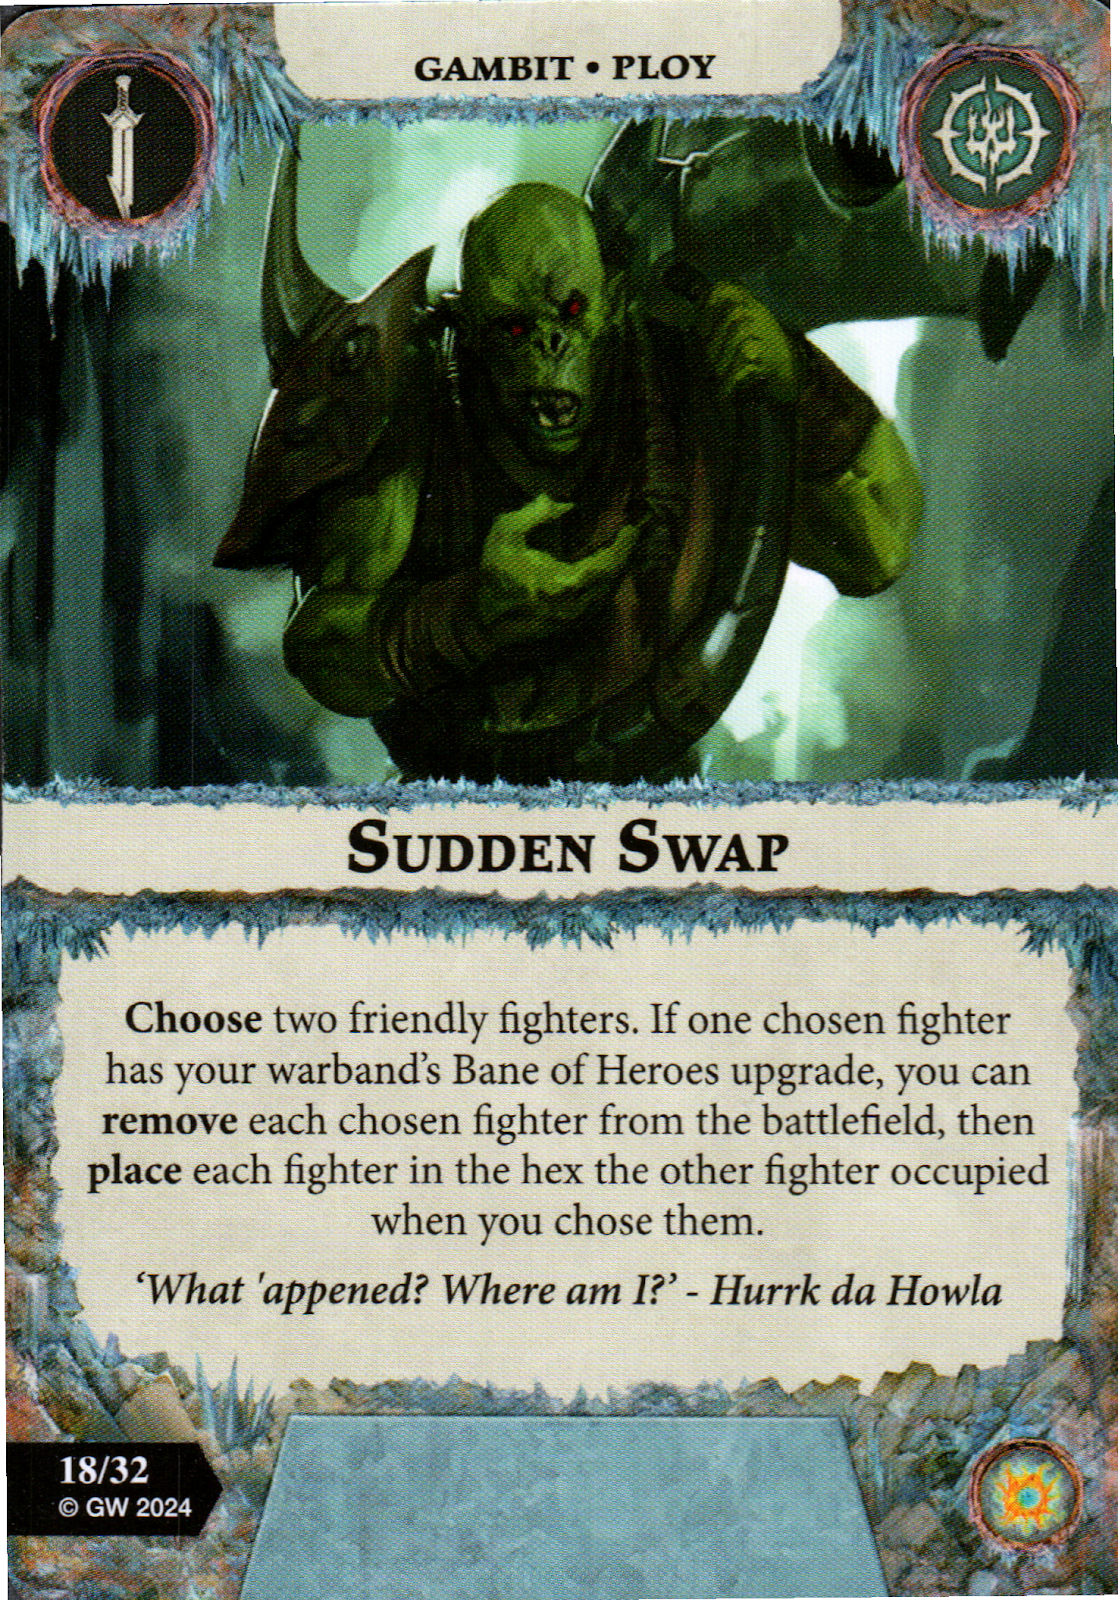
- Sudden Swap - Teleports are always powerful. Real good.
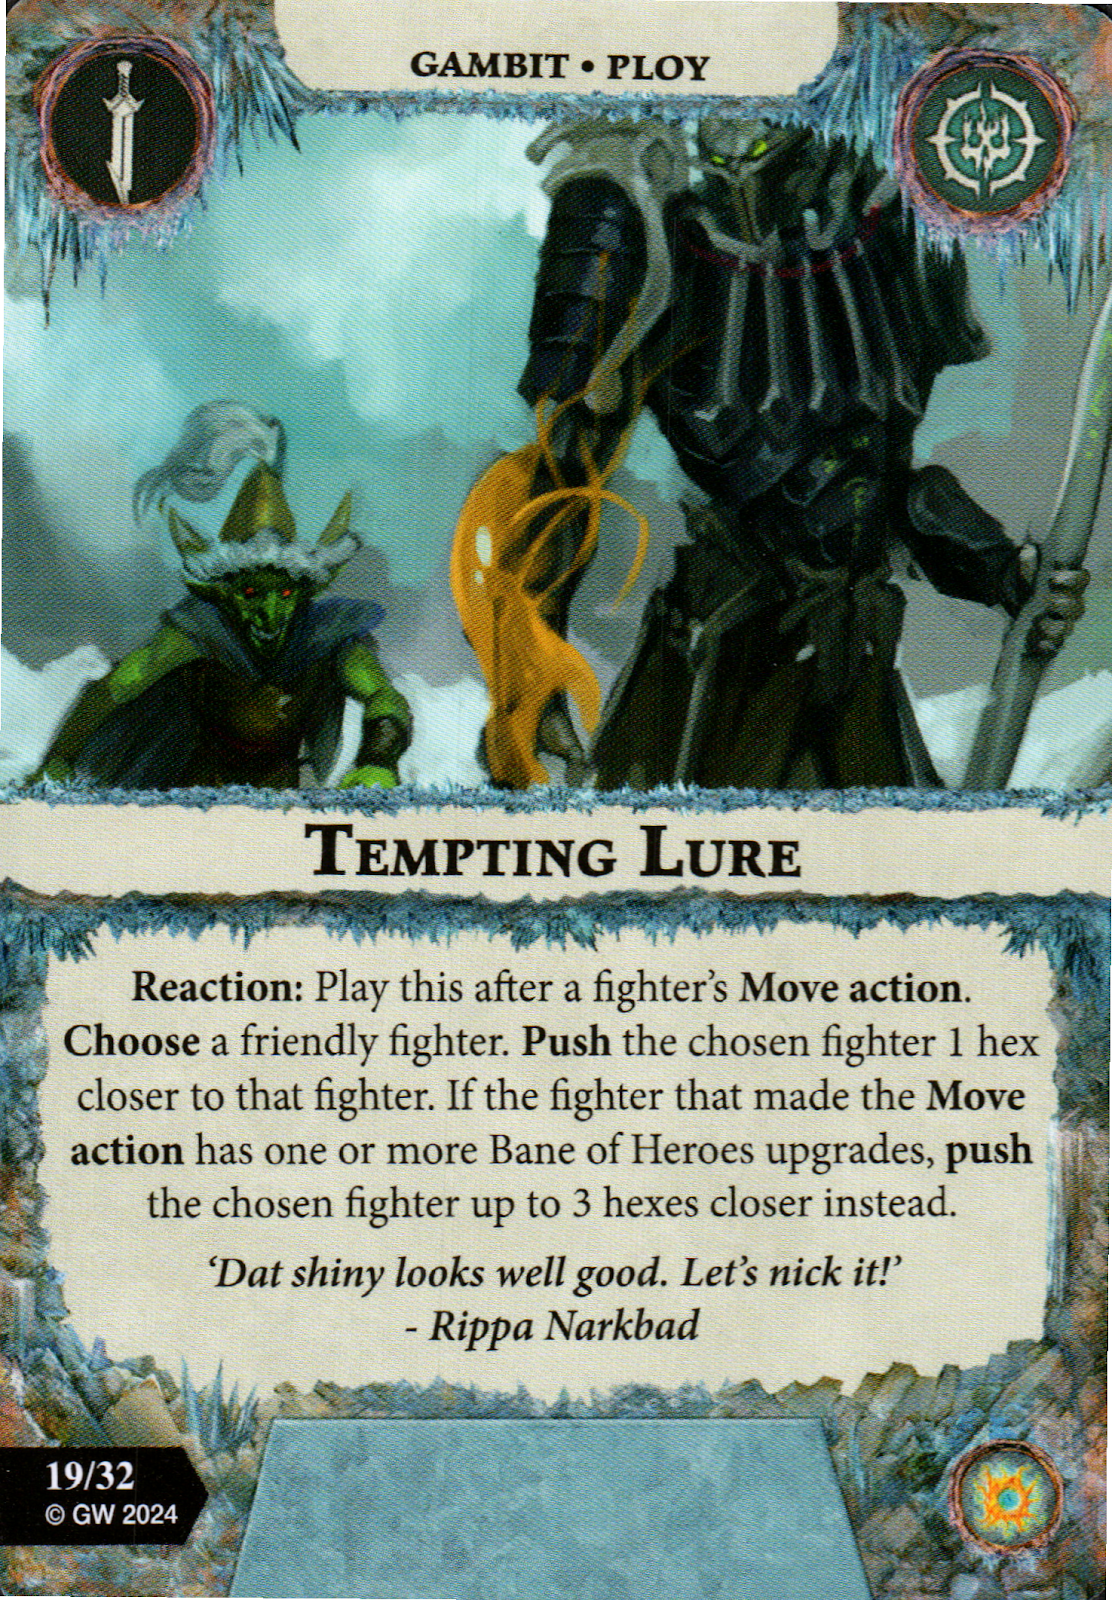
- Tempting Lure - Quickly chase your own fighter or the enemy bearer of the Bane of Heroes upgrade. Otherwise, it's simply a free push after a move.
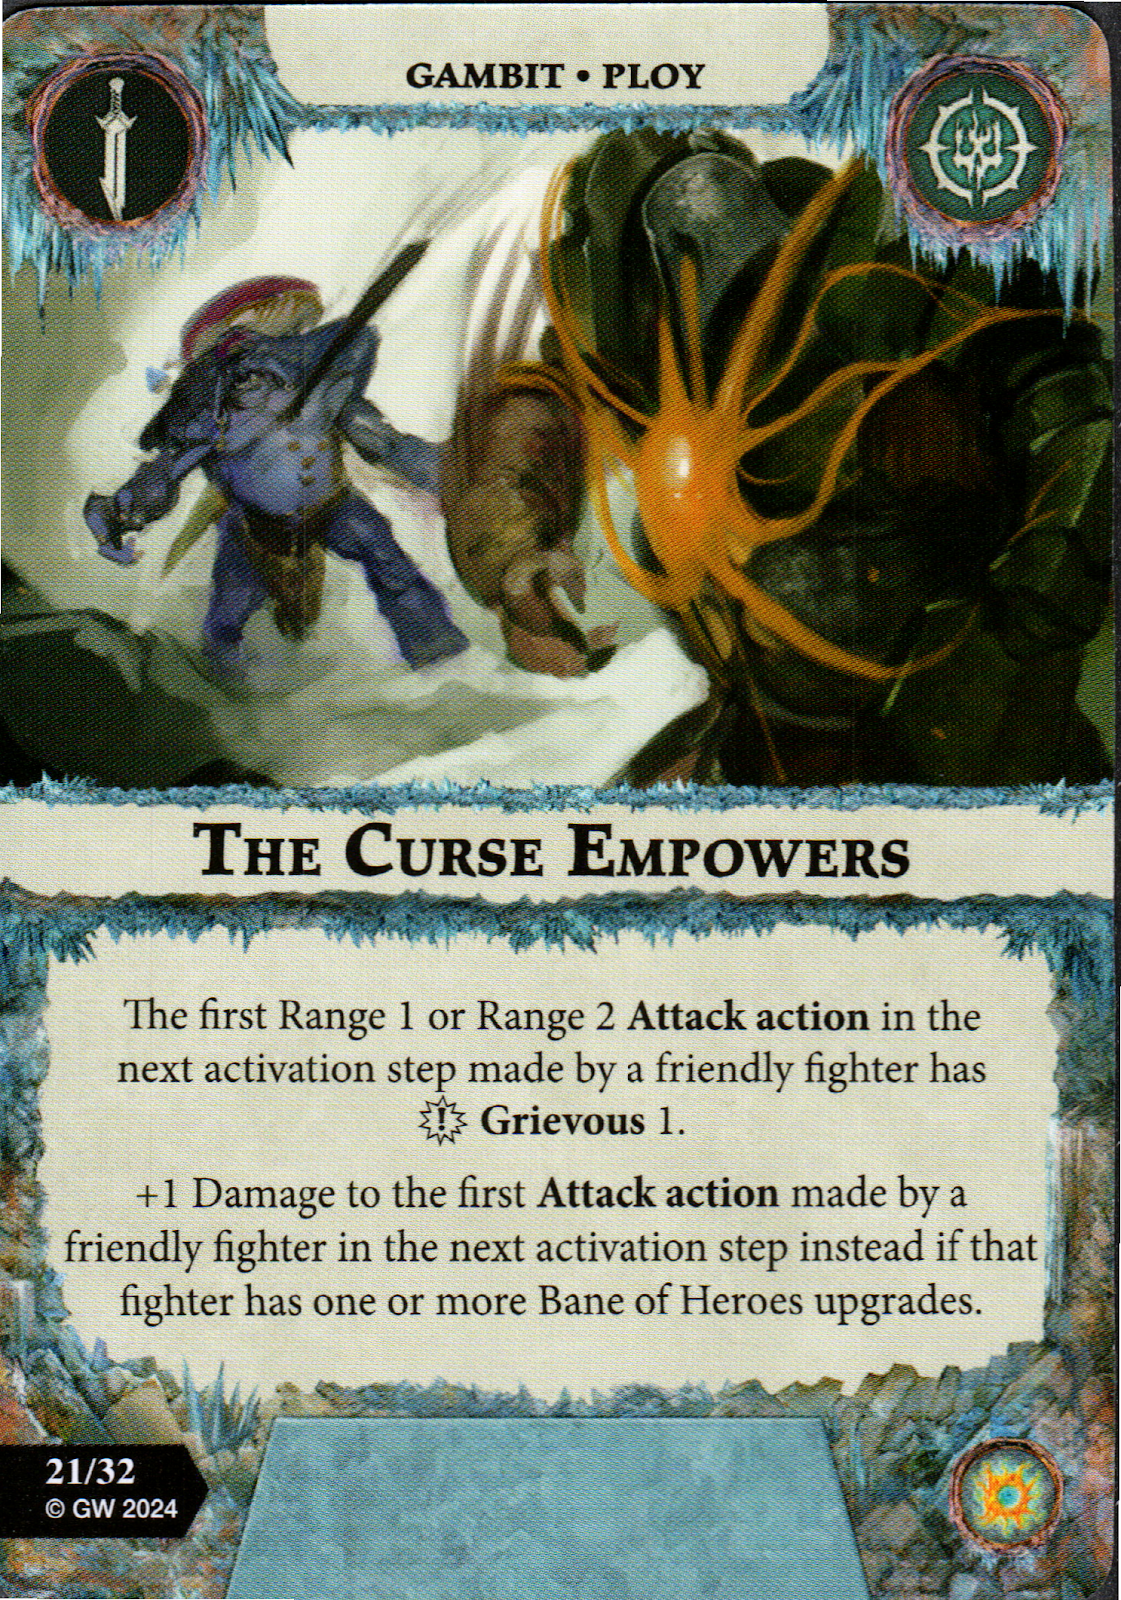
- The Curse Empowers - We love a +1 Damage card! Note that there's no range restriction on the +1 Damage if the fighter has a Bane of Heroes upgrade!!
Key Upgrades


- Despairing Strength - +1 Damage for the Bane of Heroes bearer (restricted to Range 1, at least), easy choice.
- Frenetic Efforts - This card effectively let's the bear of the Bane of Heroes "charge" multiple times per action phase. Barge = Move + Stun, so the fighter Barges, then reacts after the Stun to push and then make a Range 1 Attack action. Barge only gives you a Move token, so you are free to perform this sequence as often as you are alive.
- Instictive Reprisal - 1 Damage in return for being hit, with a potential spike of 2? Seems pretty good, especially since this hits the reaction window between being dealt damage and checking for out of action.
Playstyle
This deck has elements of aggro and control, want you to take out the enemy fighters, but also giving you opportunities to score without rolling dice and to disrupt your opponent's plans. Our tip is to give the Bane of Heroes to a lesser fighter at the beginning of the game to score the easy glory, spend that glory to tool up a fighter, then apply the Bane of Heroes to that fighter for the rest of the game (or for critical moments). Apply the Bane of Heroes to enemy fighters as necessary.
Boards
Whatever your warband wants, but you probably want to include a Snare hex (for Deadly Influence).
Playing Against This
Play reverse tag. Try to stay away from the Bane of Heroes. And avoid taking the bearer out of action if possible.
Nemesis Pairings
We like Hrothgorn's Mantrappers (give the Bane of Heroes to Thrafnir early, then to Hrothgorn late), Crimson Court (Ennias or Vellas), and Gnarlspirit Pack (Kiera or Gorl).
New Player Rating
Silver? We honestly have no idea.

